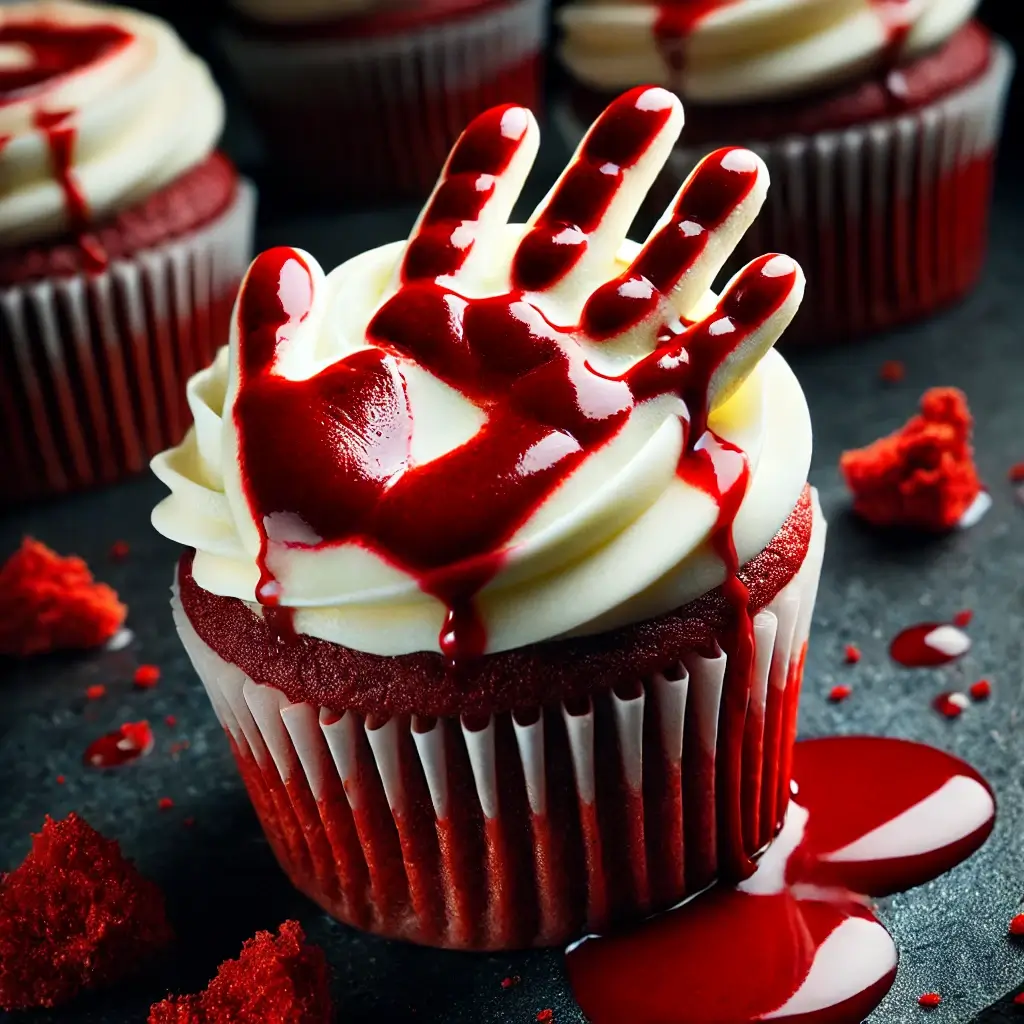
Halloween is all about thrills, chills, and treats that look as spooky as they taste. If you’re planning a creepy, unforgettable Halloween gathering, Bloody Handprint Cupcakes are a must-have addition to your spooky spread. These red velvet cupcakes, topped with cream cheese frosting and adorned with eerie “bloody handprints,” will make your guests feel like they’ve stepped into a horror film.
In this article, we’ll guide you through the steps to create these blood-curdling cupcakes, making sure that they’re as delicious as they are frightful. Let’s get baking!
Ingredients You’ll Need:
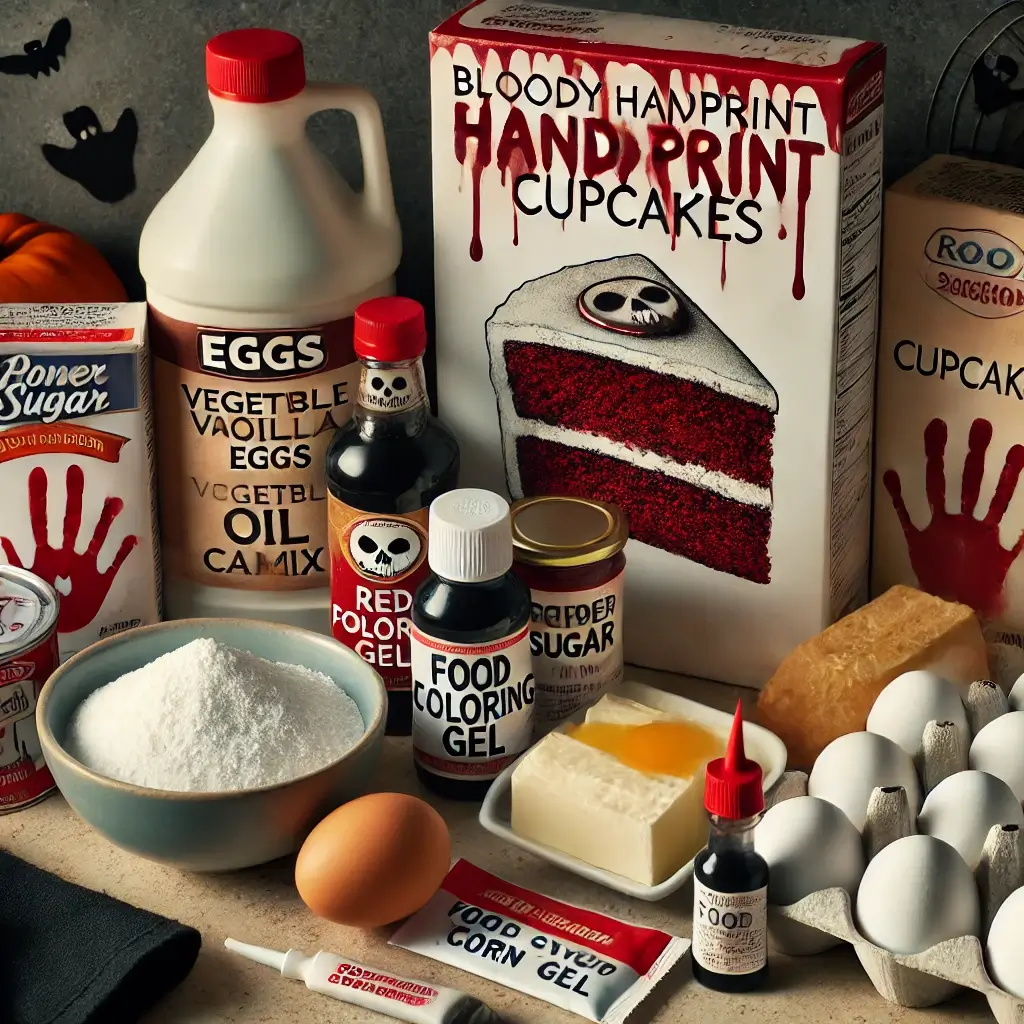
Before you start crafting these spooky treats, make sure you have the following ingredients on hand:
For the Cupcakes:
- 1 box of red velvet cake mix (or homemade red velvet ingredients)
- 1/2 cup vegetable oil
- 3 large eggs
- 1 cup water
- 1 teaspoon vanilla extract
For the Cream Cheese Frosting:
- 8 oz cream cheese, softened
- 1/4 cup unsalted butter, softened
- 2 cups powdered sugar
- 1 teaspoon vanilla extract
For the “Bloody” Handprints:
- Red food coloring gel (for a more vibrant and bloody effect)
- Optional: Corn syrup or a little water to adjust the consistency of the “blood”
Step 1: Prepare the Red Velvet Cupcakes
Start by preheating your oven to 350°F (175°C). Prepare a muffin tin by lining it with cupcake liners.
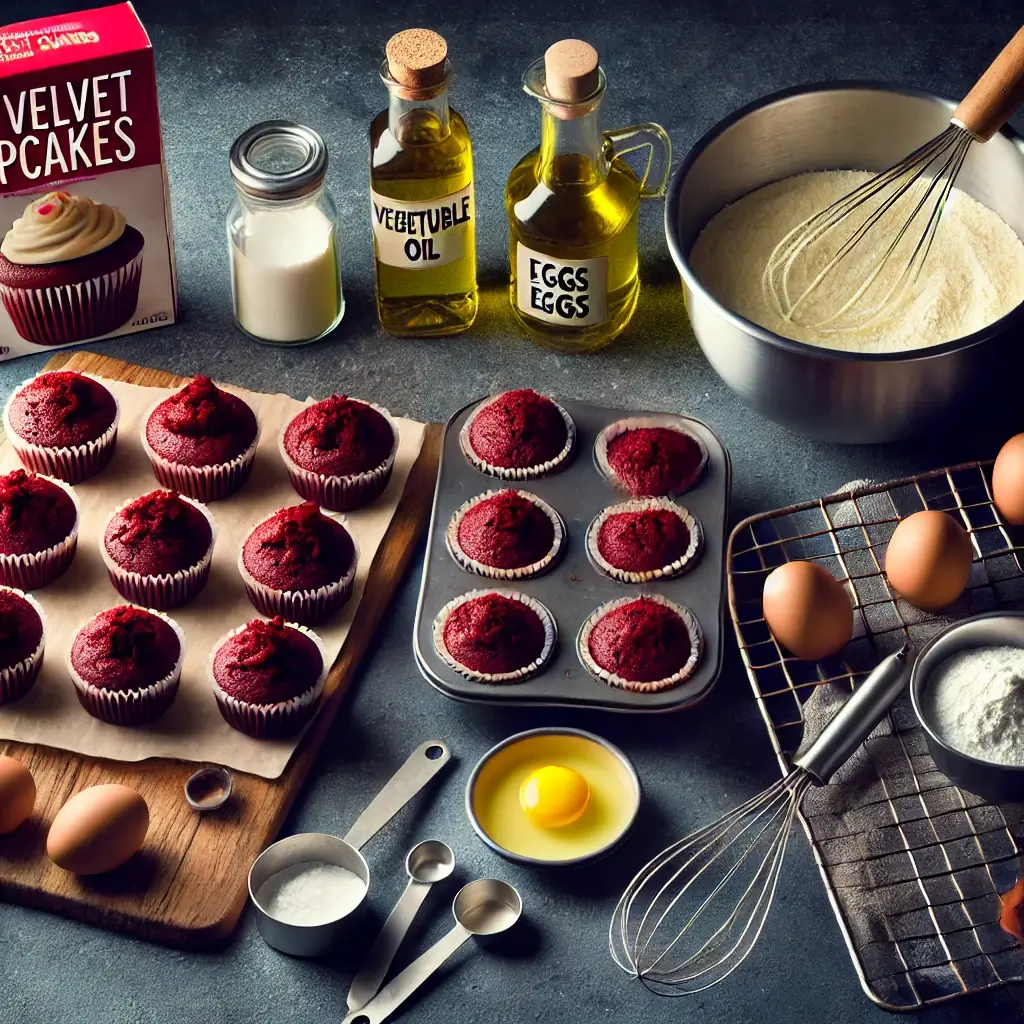
- In a large bowl, combine the red velvet cake mix with vegetable oil, eggs, water, and vanilla extract. Mix until smooth and combined. If you’re using a homemade red velvet recipe, follow your own instructions for that.
- Divide the batter evenly into the cupcake liners, filling each about two-thirds full. This will give them enough room to rise without spilling over.
- Bake for 18-22 minutes, or until a toothpick inserted into the center of a cupcake comes out clean. Once baked, allow the cupcakes to cool completely on a wire rack before decorating.
Step 2: Prepare the Cream Cheese Frosting
While your cupcakes are cooling, you can make the cream cheese frosting. Here’s how:
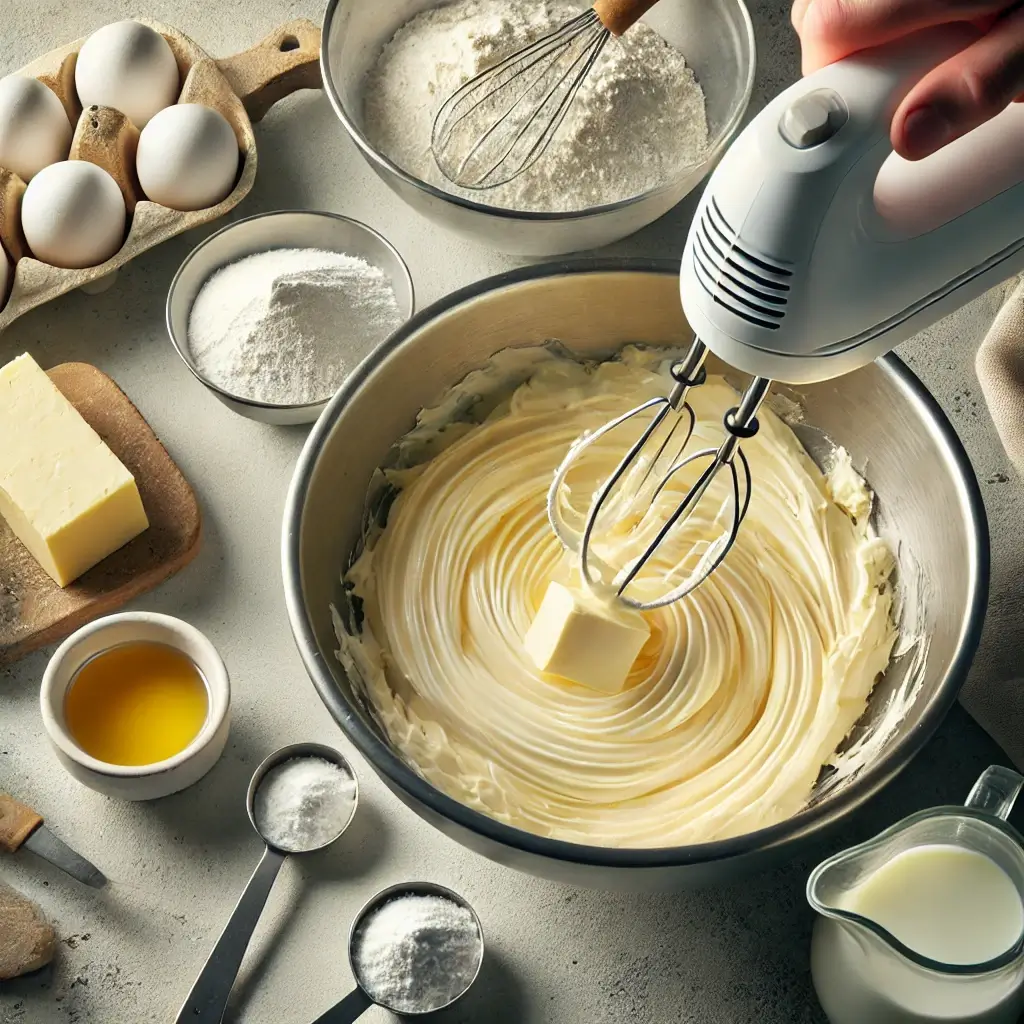
- Beat the softened cream cheese and butter together in a large bowl until smooth and creamy.
- Gradually add powdered sugar, one cup at a time, beating well after each addition.
- Stir in the vanilla extract. If the frosting is too thick, you can add a teaspoon of milk to achieve the desired consistency.
Once the frosting is smooth and creamy, set it aside while you get ready to decorate the cupcakes.
Step 3: Frost the Cupcakes
Now that your cupcakes are cooled and your frosting is ready, it’s time to add the creamy topping.
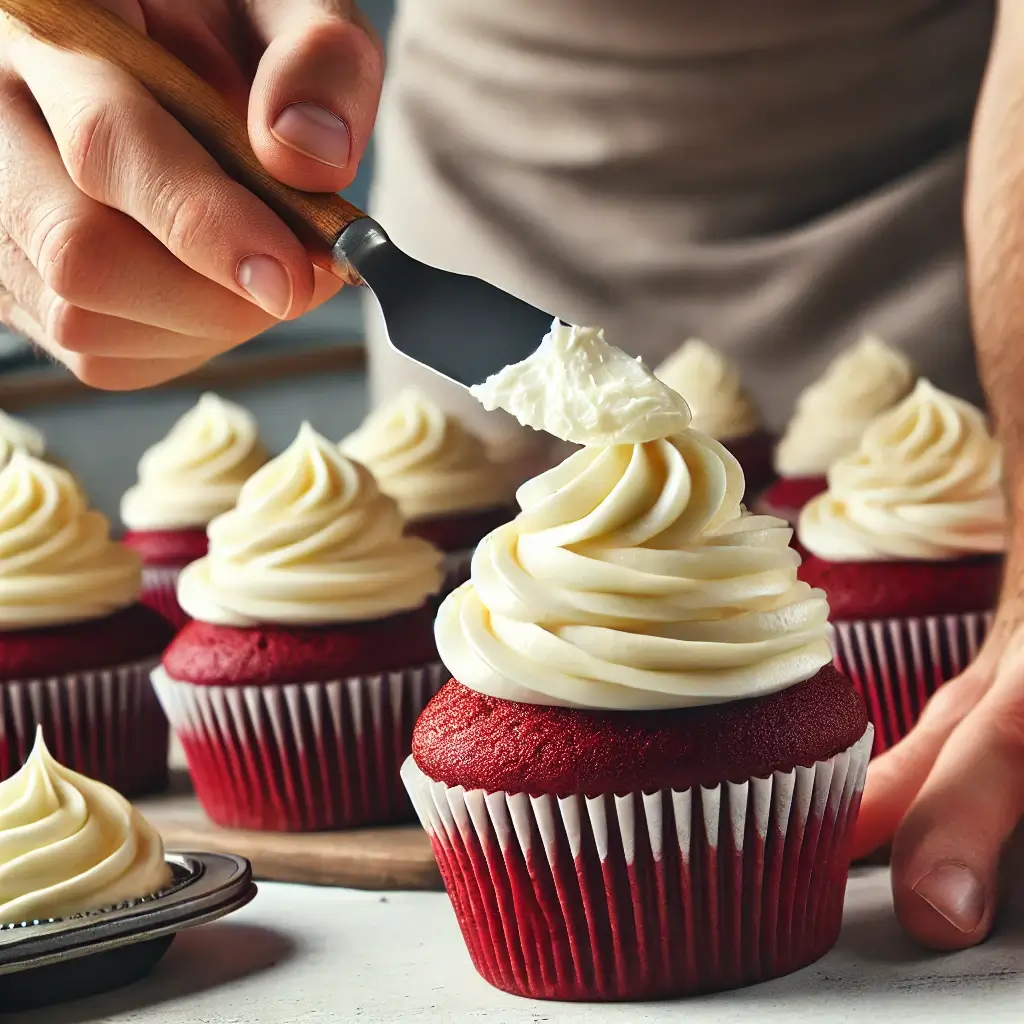
- Using a butter knife or an offset spatula, spread a generous layer of cream cheese frosting over each cupcake. The frosting should be thick enough to create a smooth, rounded top. Make sure the frosting covers the entire cupcake, leaving no edges exposed.
- If you want to make your frosting extra smooth, you can use a piping bag with a large round tip, or simply spread it out evenly with a spatula.
Step 4: Create the “Bloody Handprints” Effect
Here comes the fun and spooky part—the bloody handprints! To make your cupcakes look extra horrifying:
- Take your red food coloring gel and place a small amount on a flat surface, like a plate or a dish. Add a drop of water or corn syrup to make it a little runnier, which will help it create the “bloody” drips.
- Dip your fingers into the red food coloring mixture and press them onto the frosted cupcakes to create the handprint effect. Start with a single print on each cupcake, pressing gently to get the outline of a bloody hand. If you prefer, you can use a clean paintbrush to apply the blood effect for more precision.
- For a more dramatic look, you can allow the red food coloring to drip down the sides of the cupcakes, making it look like fresh blood running from the prints.
- Optional: To enhance the bloody look, you can use some corn syrup mixed with the red food coloring gel to create a thicker, more viscous “blood” that will stay in place better. Use it to drip around the edges or create streaks running down the sides.
Step 5: Serve and Enjoy
Once your Bloody Handprint Cupcakes are complete, arrange them on a spooky platter or cake stand. These cupcakes are perfect for a Halloween party, and their striking design will definitely be a conversation starter.
For an added eerie touch, serve them with some fun Halloween-themed drinks, like a “witch’s brew” punch, or a spooky mocktail. These cupcakes are delicious, fudgy, and perfect for anyone looking for a little fright with their bite!

Additional Tips:
- Creative Variations: You can experiment with different frosting designs, such as adding red “blood” streaks around the edges of the frosting to make the cupcakes even more menacing.
- Cupcake Toppers: For extra flair, consider topping your cupcakes with gummy worms, edible eyeballs, or Halloween-themed sprinkles.
- Vegan or Gluten-Free Version: If you or your guests have dietary restrictions, it’s easy to make vegan or gluten-free versions of these cupcakes by substituting the ingredients accordingly. There are plenty of red velvet cake mixes and frosting recipes available to suit different dietary needs.
Conclusion
These Bloody Handprint Cupcakes are not only a terrifyingly fun treat, but they are also simple to make and customize. Whether you’re hosting a Halloween party or just want to add a spooky touch to your day, these cupcakes will certainly impress your guests and leave them screaming for more. The combination of rich red velvet cake, creamy frosting, and the chilling bloody handprint effect is sure to be a hit at your next Halloween gathering.
Enjoy baking and indulging in these creepy cupcakes—perfect for anyone who loves a little fright with their dessert!
Bloody Handprint Cupcakes
Looking for more easy and healthy recipes? Visit Viral Recipes for a wide range of tips and tricks for making quick and nutritious dishes your whole family will love!
For more nutritious and delicious recipes, check out our collection of healthy SOUP dishes.
For more nutritious and delicious recipes, check out our collection of Hallloween dishes.
FAQs
- Can I make these cupcakes ahead of time? Yes! You can bake the cupcakes a day or two in advance and store them in an airtight container. Frost them and add the bloody handprints right before serving for the best effect.
- How do I get the “bloody” effect just right? The key to a realistic bloody effect is using red food coloring gel mixed with either corn syrup or water. This creates a thick, vibrant “blood” that looks fresh and realistic.
- Can I use another frosting flavor? Absolutely! While cream cheese frosting is a popular choice, you can use buttercream, chocolate frosting, or any frosting flavor you prefer.
- What is the best way to store these cupcakes? Store any leftover cupcakes in an airtight container at room temperature for up to 3-4 days. You can also freeze them if you’d like to make them in advance.

