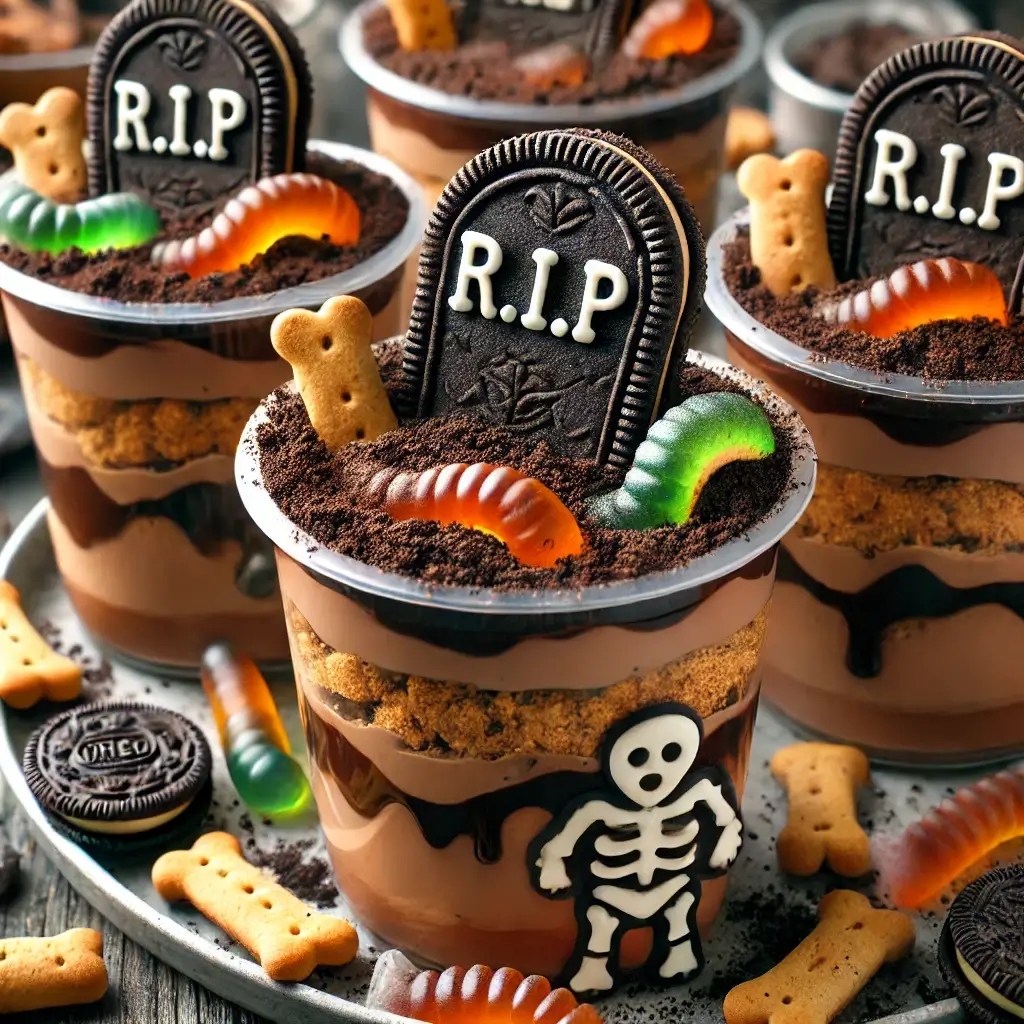
Graveyard Pudding Cups are the perfect Halloween treat to serve at your spooky gathering. These cups combine layers of rich chocolate pudding, crushed Oreo cookies, and creepy decorations like Milano cookie tombstones, gummy worms, and candy bones to create a spooky graveyard effect. Easy to make and guaranteed to be a hit, these pudding cups are perfect for adding some frightful fun to your Halloween party.
Ingredients You’ll Need:
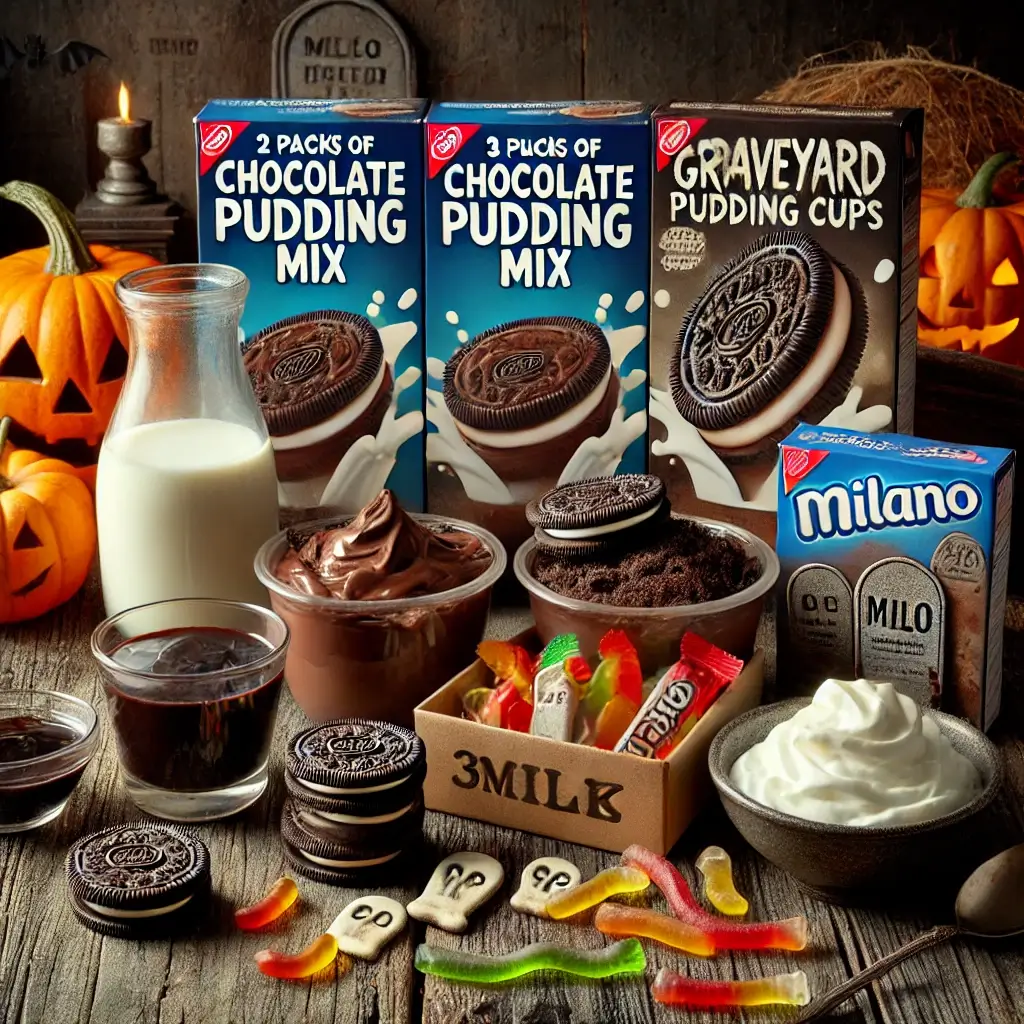
Before you start assembling your Graveyard Pudding Cups, make sure you have the following ingredients:
For the Pudding:
- 2 packs of chocolate pudding mix (or 4 cups of homemade chocolate pudding)
- 3 cups of milk (for the pudding mix)
- 1 pack of Oreo cookies (for the “dirt” layer)
- 1 pack of Milano cookies (for the “tombstones”)
- Gummy worms (for the “buried worms”)
- Candy bones (optional, for added horror)
- Whipped cream (optional, for decoration)
- Chocolate syrup (optional, for extra decoration)
Step-by-Step Instructions for Graveyard Pudding Cups:
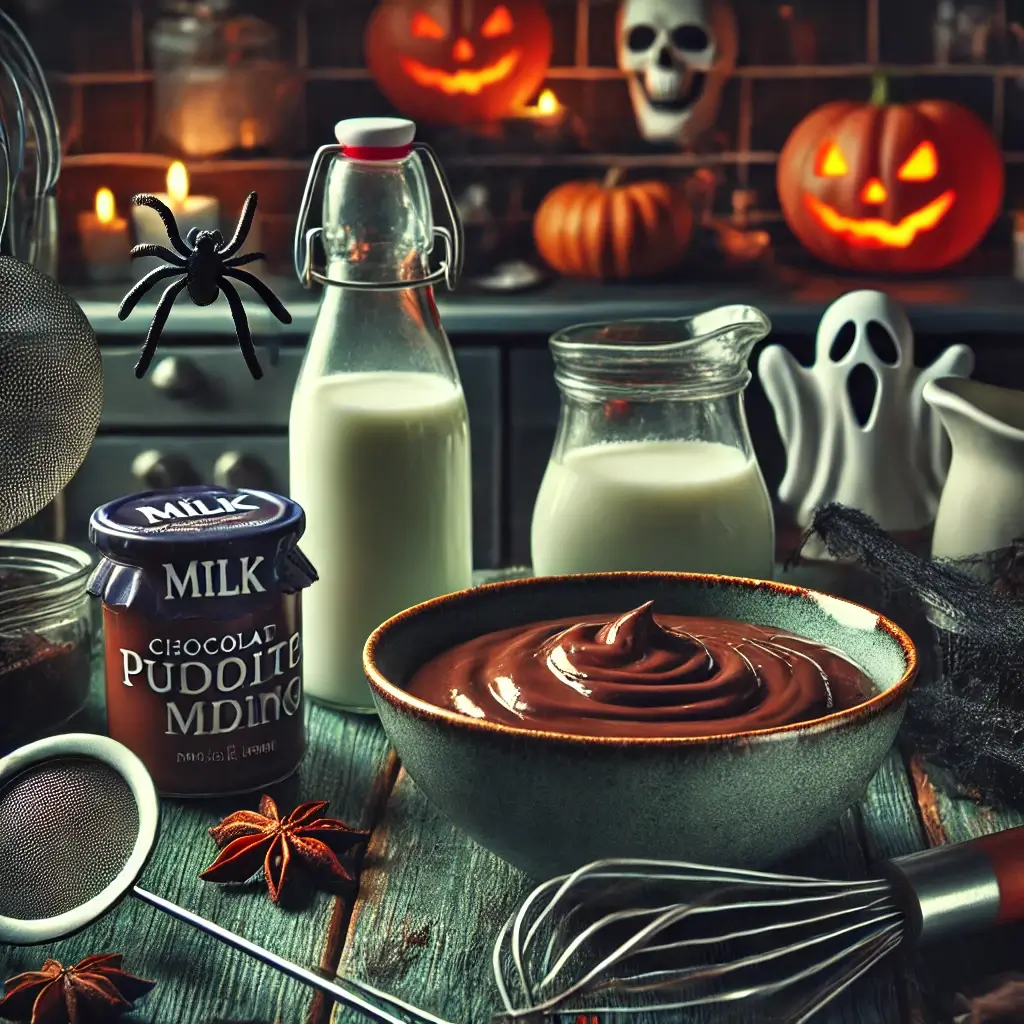
Step 1: Prepare the Chocolate Pudding
Start by making the chocolate pudding according to the instructions on the package. Alternatively, you can make homemade pudding if you prefer. Once prepared, let the pudding cool in the fridge for a few minutes to thicken up before you begin layering the cups.
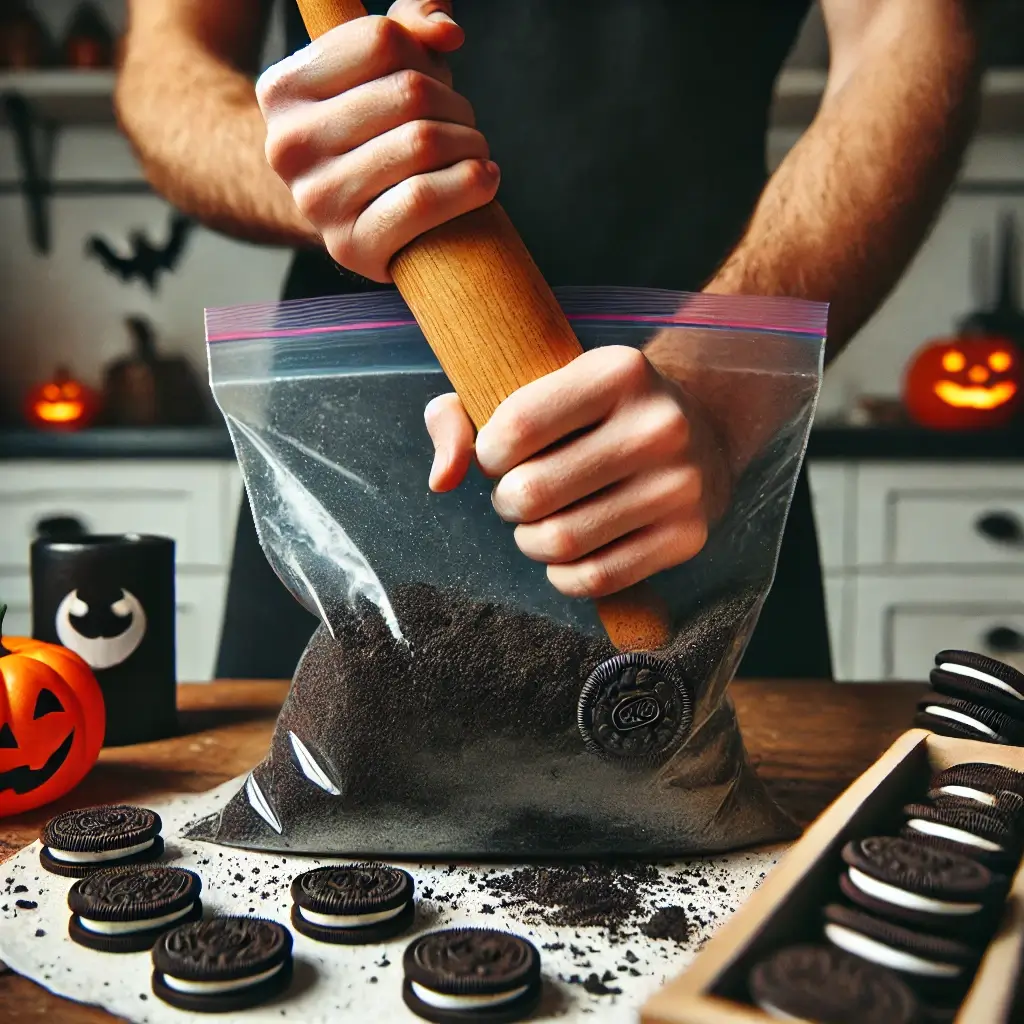
Step 2: Crush the Oreos
While the pudding is cooling, crush the Oreos into small crumbs. You can either place the Oreos in a ziplock bag and crush them with a rolling pin or use a food processor. The crumbs should be small enough to create a “dirt” layer in the cups.
Step 3: Assemble the Pudding Cups
Once your pudding has cooled, it’s time to start assembling the cups!
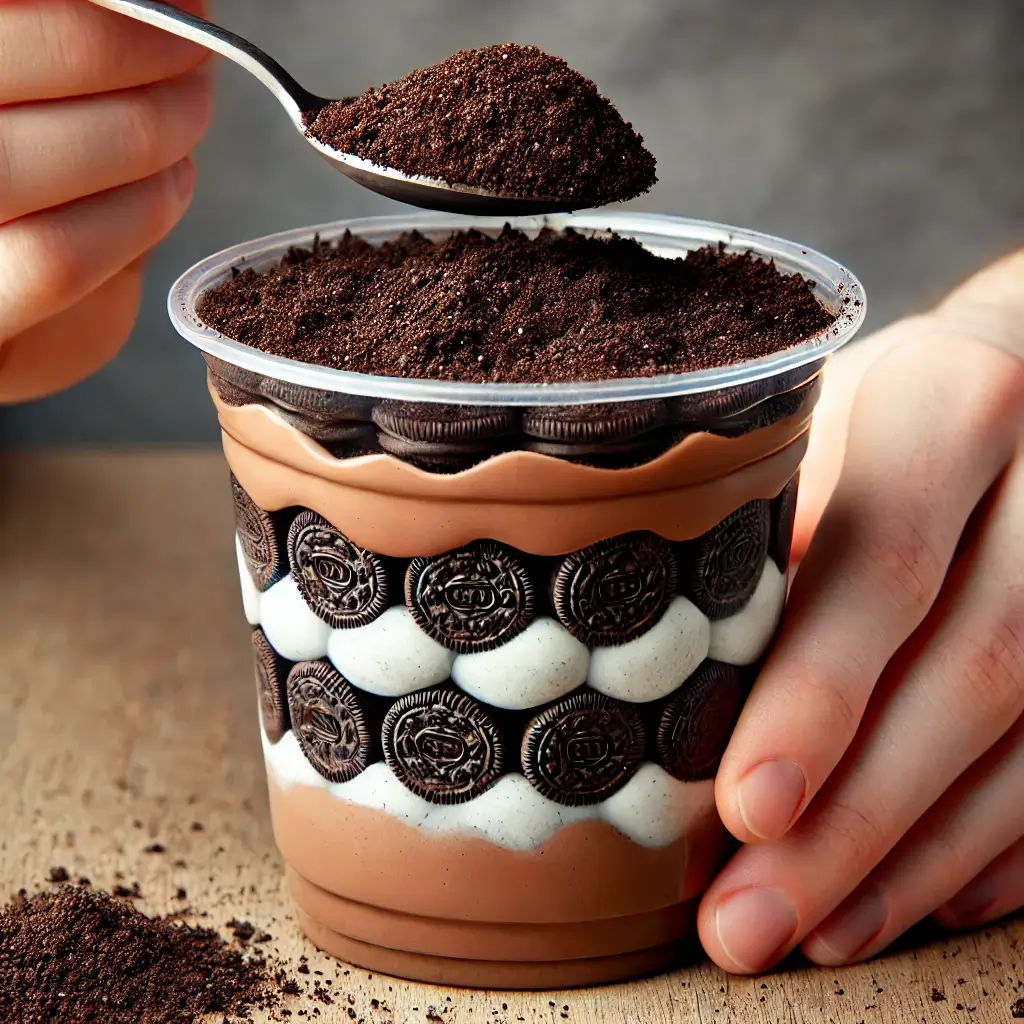
- Layer One: Add a layer of chocolate pudding to the bottom of each clear cup, filling it about a third of the way.
- Layer Two: Add a layer of crushed Oreos over the pudding to resemble the “dirt.” Use enough to cover the pudding completely, gently pressing it down so it sticks.
- Repeat Layers: Continue adding layers of pudding and Oreo crumbs until the cup is nearly full. Finish with a final layer of crushed Oreos to give the appearance of dirt on top.
Step 4: Add the Tombstones
Now for the fun part – creating the “graveyard” effect!
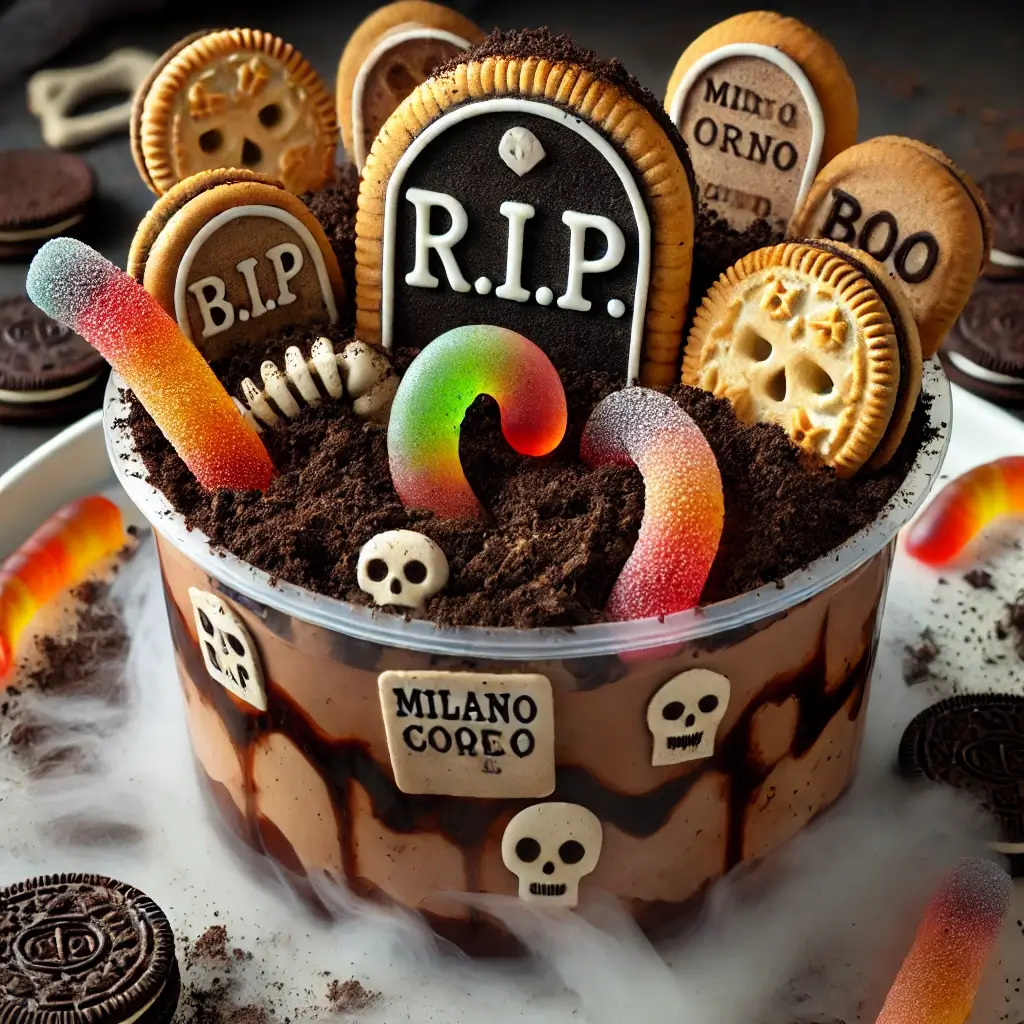
- Take the Milano cookies and break them in half for short tombstones, or leave them whole for taller tombstones. Place the Milano pieces standing up in the cups, creating the appearance of gravestones.
- You can also write eerie messages like “R.I.P.” or “BOO” on the cookies using icing or edible pens.
Step 5: Add the Worms and Bones
Now it’s time to add some creepy crawlers and bones!
- Place a few gummy worms on top of the pudding and Oreo layer to look like they’re emerging from the grave.
- To make it even spookier, add some candy bones around the cups, making it seem like they’re unearthed from the tombs.
Step 6: Optional Decoration
If you’d like, you can add whipped cream to the tops of the cups to make them look more “foggy” or drizzle some chocolate syrup for an extra gory touch. You can also sprinkle more crushed Oreos on top for an even more realistic “dirt” look.
Step 7: Serve and Enjoy
Your Graveyard Pudding Cups are now ready to serve! These spooky cups are perfect for any Halloween party. Arrange them on a creepy platter or serve them in individual cups for each guest. They are sure to be the star of the party and a conversation starter!


Additional Tips:
- Can I make this ahead of time? Yes! You can prepare these pudding cups a day ahead of your party. Just keep them refrigerated until it’s time to serve.
- Can I use a different cookie instead of Milano? Absolutely! You can use any cookie you like, such as shortbread or even regular graham crackers, to create your tombstones.
- How can I make the “dirt” look more realistic? In addition to the Oreo crumbs, you can use graham cracker crumbs or brown sugar to add more texture and make the dirt look more authentic.
- Can I use homemade pudding? Definitely! If you prefer homemade pudding, go ahead and make your own. This recipe works just as well with pudding made from scratch.
Conclusion:
Graveyard Pudding Cups are a fun and easy Halloween dessert that everyone will enjoy. With layers of rich chocolate pudding, crushed Oreo “dirt,” and spooky decorations like cookie tombstones, gummy worms, and candy bones, these cups will create the perfect creepy atmosphere for your Halloween celebration. Plus, they’re as delicious as they are spooky! Get creative and make this Halloween extra special with these fun and frightful treats.
Looking for more easy and healthy recipes? Visit Viral Recipes for a wide range of tips and tricks for making quick and nutritious dishes your whole family will love!
For more nutritious and delicious recipes, check out our collection of healthy SOUP dishes.
Frequently Asked Questions about Graveyard Pudding Cups:
- Can I use a different type of cookie for the “dirt” layer? Yes, any cookie with a similar texture will work, such as graham crackers or digestive biscuits.
- Can I make the pudding cups a day ahead? Absolutely! Just keep them covered in the fridge until you’re ready to serve.
- Can I use a different topping instead of gummy worms? Yes, you can use other creepy candy like candy eyes, spiders, or even chocolate-covered raisins for an eerie touch.
